
I worked on this image a bit. I am beginning to understand how to work with RAW images. I like this mo bettah


 Next we glue the bridge to the body using 3 clamps
 We are now ready for final sanding and spraying on the finish
 After the finish dries, it will be buffed to a high gloss. Then the tuners will be installed and strung. Ready for strumming. This will happen after I get back from the mainland Sat Dec 8
 The position of the hole in the neck and body must be extremely precise. You can't see it in this picture but there is a small bubble level in the back top of the drill. This helps Pat align the drill so the hole will be straight.
 Here he is drilling the body. See the piece of tape around the drill bit. That shows Pat how deep to drill. The top of the neck and the top of the body must be perfectly aligned when the neck is slid on to the dowel that will be inserted in the body. No ukulele work for a couple of days now. Darn.
 Then, using a special vise grip and that fret hammer that you can see, the fret wire is forced into the slot. A drop of super glue on each side keeps the fret wire in the slot forever.

 First thing we do is drill a hole in the spot where a slot will be cut so we can get the jig saw blade in. We drill a 3/8 inch hole on both sides.
 Here Pat is cutting one of the slots.
 Now you can see what I am talking about! The two slots will now be sanded and shaped and make ready for the tuners to be installed. No more ukulele work for a couple of days. Darn.
 We have glued the faceplate to the neck. The word "Palapala" was burned into the wood with a laser cutting device.
 We have placed the neck into this marking jig. We can mark the position of the two slots using this jig. After we mark the position of the slots we will cut the slots using the drill press and a jig saw.
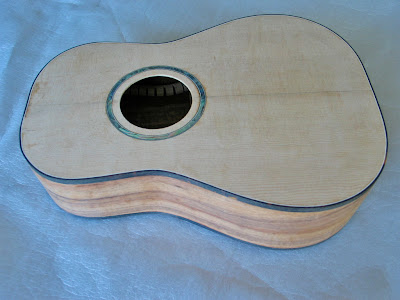
 The body has had the top and bottom trimmed. This shows the hand router that will cut the grove for the binding
 Pat is using the router to cut the grove in the top edge. He will do the same on the bottom edge
 The binding has been tacked and will be bent around the edge of the top
 As he bends it, he applies glue and uses the tape strips to hold the binding to the grove while the glue dries. More tomorrow.


